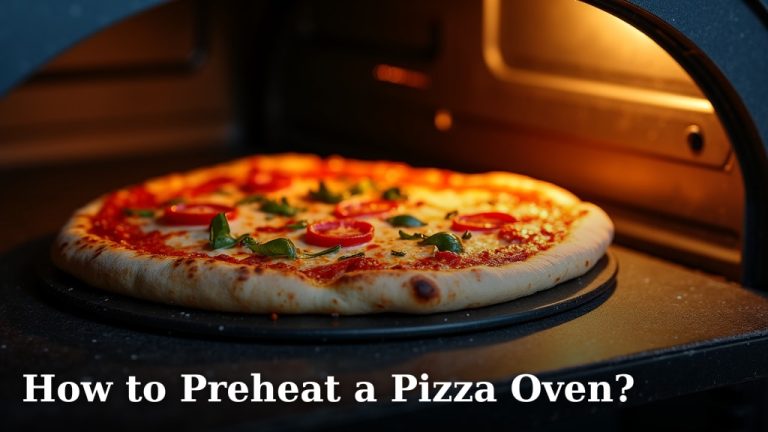
How to Launch Pizza from a Peel?

To successfully launch pizza from a peel, you need to use plenty of semolina flour or cornmeal and a swift, confident motion to slide the pizza into the oven. This technique prevents sticking and ensures your pizza keeps its perfect shape. We found that a smooth, single movement is key for a perfect launch every time.
Getting your homemade pizza from the peel to the oven can feel like a magic trick, right? Many home bakers struggle with this step. We’ll show you how to avoid those frustrating moments where your pizza sticks or folds. You can master the art of the perfect pizza launch with a few simple tips.
- Properly flour your pizza peel.
- Load your pizza quickly and carefully.
- Use a swift, confident slide motion.
- Troubleshoot common sticking issues.
Let’s walk through exactly how to launch your pizza like a pro, step by step.
Prepping Your Pizza for a Smooth Launch
Success starts even before your pizza reaches the peel. Proper preparation ensures your pizza won’t stick, fold, or tear. It’s about setting yourself up for a simple, stress-free transfer.
Choosing the Right Flour for Your Peel
The flour you use acts as a lubricant, making all the difference. You want a flour that creates tiny ball bearings for your dough to slide on. Experiment to find what works best for you.
Semolina Flour: The Pro’s Choice
Many professional pizzaiolos swear by semolina flour. These coarse grains don’t absorb moisture as quickly as regular flour. This means your dough stays slick and slides easily, even if it sits on the peel for a moment too long. We found that a thin, even layer works wonders.
Cornmeal: The Home Baker’s Friend
Cornmeal is another excellent choice and often easier to find. Like semolina, its grittiness helps prevent sticking. Make sure it’s finely ground to avoid adding too much texture to your crust. Too much can make the bottom of your pizza taste gritty, which surprises some first-time users.
Avoid Regular All-Purpose Flour
Resist the urge to use regular all-purpose flour. It absorbs moisture very quickly. Your pizza will likely become glued to the peel before it even touches the oven. We’ve all been there – a frustrating mess is the usual result!
Flouring Your Peel: Less is More (But Enough is Enough)
Finding the right amount of flour is an art. Too little, and it sticks. Too much, and you’ll have a cloud of smoke and a burnt taste in your oven. You’re aiming for a very light, even coating.
- Sprinkle a small amount of semolina or cornmeal across the peel’s surface.
- Tilt the peel from side to side; tap the back gently. This helps spread the flour evenly.
- The goal is full coverage with no thick clumps.
- Shake off any excess flour. You should see a thin, almost translucent layer.
A good test is to gently run your hand over the floured peel. It should feel smooth and slightly slick, not dusty or bumpy.
Mastering the Peel: Loading Your Pizza
Once your peel is perfectly floured, it’s time to move your prepared pizza onto it. This step needs care and a bit of speed to prevent sticking.
The Importance of Speed and Efficiency
Timing is everything here. The longer your pizza sits on the peel, the more time it has to absorb moisture from the toppings and stick. We found it’s best to have your oven preheated and ready to go before you even start building your pizza on the peel.
Transferring Your Pizza to the Peel
There are a few ways to get your pizza onto the peel, depending on how comfortable you are handling raw dough.
Building Directly on the Peel (Advanced)
Some experienced pizza makers build their pizza directly on the floured peel. This minimizes handling. However, it requires a confident hand and quick work. If you’re new to this, your dough might stick before you finish. Most experts recommend against this for beginners.
The Forearm Method (Recommended)
This is a popular and effective method. Gently lay your stretched pizza dough over your forearms. Think of your arms as a gentle hammock. Then, carefully lower the dough onto the floured peel, starting from the sideclosest to you. This helps you center it. Work quickly to add your sauce, cheese, and toppings.
Using Parchment Paper (Beginner-Friendly)
If you’re still nervous, parchment paper is your secret weapon. Build your pizza on a sheet of parchment paper on a cutting board. Once topped, simply slide the parchment paper with the pizza onto the peel. The parchment goes into the oven with the pizza. Remove it halfway through cooking if you want a crispier bottom (Cook’s Illustrated). This makes cleanup easier too.
Checking for Stick-Free Movement
Just before launching, give your pizza a gentle shimmy. Hold the peel and shake it slightly side to side. Your pizza should move freely across the surface. If it doesn’t, lift the edge of the dough, sprinkle a tiny bit more semolina underneath, and gently work it around. This quick check prevents tears and frustration.
The Moment of Truth: Launching Your Pizza
This is where confidence comes in. A smooth, decisive motion is key to getting your pizza perfectly into the oven. Hesitation leads to trouble.
Positioning Your Body and the Peel
Get Close to the Oven
Stand directly in front of your oven, as close as comfortable. The less distance your pizza has to travel, the better. You want to minimize air time.
Angle the Peel Correctly
Hold the peel at a slight downward angle, around 15-20 degrees. The front edge of the peel should just barely touch the back of your baking stone or steel. This creates a ramp for your pizza.
The Swift, Confident Slide
We found that overthinking this step often causes problems. You’re not “throwing” the pizza. You’re sliding it.
With an oven mitt on your other hand ready to stabilize the steel if needed, take a deep breath. Firmly and quickly pull the peel straight back towards you. At the same time, give a slight forward nudge with the peel to help the pizza slide off. It’s a synchronized effort: pull back, tiny nudge forward.
The pizza should gracefully slide off the peel and land on your hot baking surface. Practice this motion a few times with an empty peel before you have a loaded pizza. This builds muscle memory.
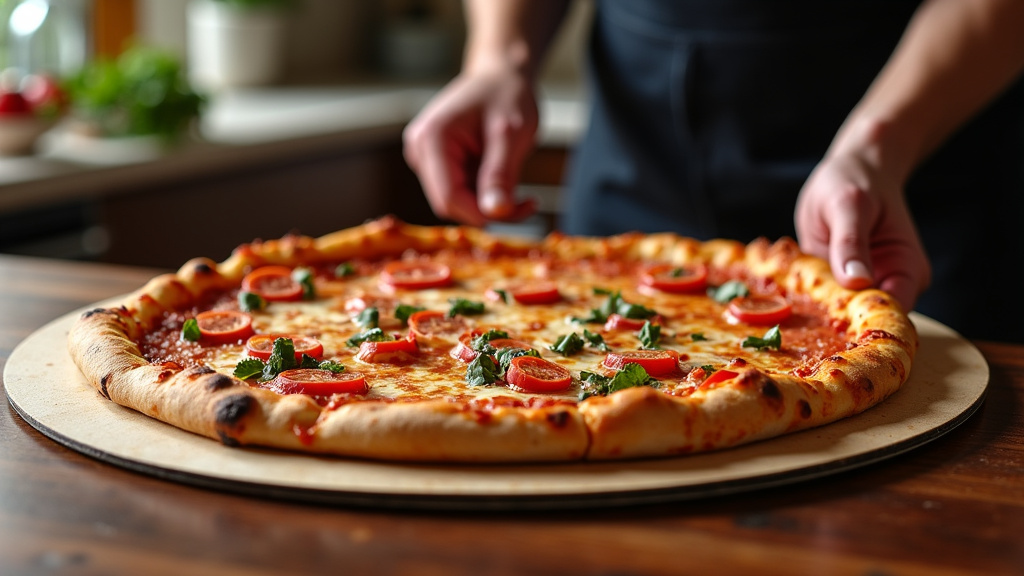
Troubleshooting Common Launch Problems
Even with preparation, sometimes things go awry. Don’t panic! Most issues are easily fixed.
When Your Pizza Sticks to the Peel
This is the most common problem. If you shimmy the peel and the pizza doesn’t move, act fast.
- Gently lift one edge of the pizza with a spatula or your fingers.
- Sprinkle a small amount of semolina or cornmeal underneath the stuck area.
- Gently work the flour under the rest of the pizza by lifting and adding more.
- Once it moves freely, try the launch again.
Sometimes you need to sacrifice a bit of perfect roundness to avoid a full-on stuck-on disaster.
The Folded Over Pizza Catastrophe
A folded pizza means your launch wasn’t confident enough. You likely pulled the peel out too slowly, causing the front edge of the pizza to crumple.
- If it’s minor, gently lift the folded part with a spatula or tongs.
- If it’s badly folded, you might need to quickly pull the entire pizza out. Use a spatula or another peel.
- Unfold it as best you can on the counter. Add more flour to the peel and re-launch.
Remember, even slightly misshapen pizza tastes delicious! Don’t let a folded pizza ruin your evening. It’s part of the learning process.
Preventing Future Sticking Issues
Here’s a quick checklist to prevent sticking next time:
| Issue | Common Cause | Solution |
|---|---|---|
| Pizza sticks right away | Not enough flour/wrong flour | Use plenty of semolina or cornmeal. |
| Pizza sticks after a short time | Dough too wet/too slow | Build pizza quickly. Use less wet toppings. |
| Pizza folds during launch | Hesitant, slow launch | Practice swift, confident pull-back. |
| Pizza slides off in a blob | Too much flour/wrong angle | Shake off excess flour. Correct peel angle. |
| Toppings slide off center | Jerky launch motion | Aim for a smooth, single movement. |
Essential Tools for a Perfect Launch
Having the right equipment makes a huge difference in your success rate. Think about these items as investments in your pizza journey.
Your Pizza Peel: Wood vs. Metal
The type of peel you use can affect your launch. Both have their pros and cons.
Wooden Peels
Wooden peels are traditional and generally non-stick, especially when properly floured. They absorb a bit of moisture, which can be helpful. They are also gentle on your dough. Many home bakers find them easier to use initially. However, they can be thicker and harder to slide under an already-cooked pizza.
Metal Peels
Metal peels (often aluminum) are thinner. This makes them excellent for retrieving a cooked pizza from a hot oven. They transfer less heat to your hands. But, a metal peel might require a bit more flour to prevent sticking, as they don’t absorb moisture at all. A perforated metal peel can be a good compromise, allowing excess flour to fall away.
Pizza Stone or Steel: The Hot Surface
You need a very hot surface in the oven for a crispy crust. A thick pizza stone or a pizza steel are both excellent choices.
Pizza Stone
A pizza stone heats up wonderfully and creates a beautiful, crispy crust. It absorbs moisture from the dough, making it extra delicious. Remember to preheat it for at least 45-60 minutes to reach the right temperature.
Pizza Steel
A pizza steel is even better at retaining heat and transferring it quickly to your dough (America’s Test Kitchen). It creates an incredibly crispy, charred crust, much like a professional brick oven. They are heavier and more expensive, but many pizza lovers swear by them.
Practice Makes Perfect: A Quick Checklist
Learning to launch a pizza takes a little practice, but it’s a skill you’ll quickly master. Don’t be afraid to try! Each attempt gets you closer to pizza perfection.
- Choose semolina or fine cornmeal.
- Flour the peel lightly and evenly.
- Build and transfer pizza quickly.
- Shimmy the pizza to check for stickiness.
- Position the peel close, at a slight angle.
- Use a swift, confident pull-back and nudge motion.
You’ll soon impress your family and friends with perfectly round, perfectly cooked pizzas straight from your home oven!
Conclusion
You now have all the tools and techniques to conquer the tricky pizza launch. Remember, it’s all about preparation, using the right flour, and a swift, confident motion. Don’t be discouraged by initial mishaps; every home pizza chef has been there! We found that a little practice transforms frustration into fun. So, preheat your oven, flour your peel, and get ready to enjoy perfectly-launched, homemade pizza tonight!
Frequently Asked Questions
How can I tell if my pizza dough is too wet for launching?
If your dough feels excessively sticky and difficult to handle, even after adequate flouring, it might be too wet. You can try dusting it lightly with flour or reducing the water content slightly in your next batch for easier handling.
Should I use a wood or metal peel for launching?
For launching, a wooden peel is often easier for beginners as it tends to be less sticky and more forgiving. Metal peels are excellent for retrieving baked pizzas, but can be trickier for the initial launch due to their smooth, non-absorbent surface.
Can I launch a pizza directly onto an oven rack without a stone or steel?
While possible, launching directly onto an oven rack usually results in a soft, undercooked crust. A pizza stone or steel provides the intense, even heat needed to quickly cook the bottom of your pizza, giving it that desirable crispness.
My toppings slide off when I launch the pizza. What am I doing wrong?
This usually happens if your launch motion is too jerky or sudden. Aim for a smooth, continuous slide rather than a sharp push. Also, ensure your toppings aren’t piled too high, which can make them unstable during transfer.
Is it okay to use parchment paper every time I make pizza?
Absolutely! Parchment paper is a fantastic tool for beginner and experienced bakers alike, ensuring stick-free launches every time. Just be aware that for an extra crispy bottom, we recommend removing the parchment halfway through baking.