How to Preheat a Pizza Oven?
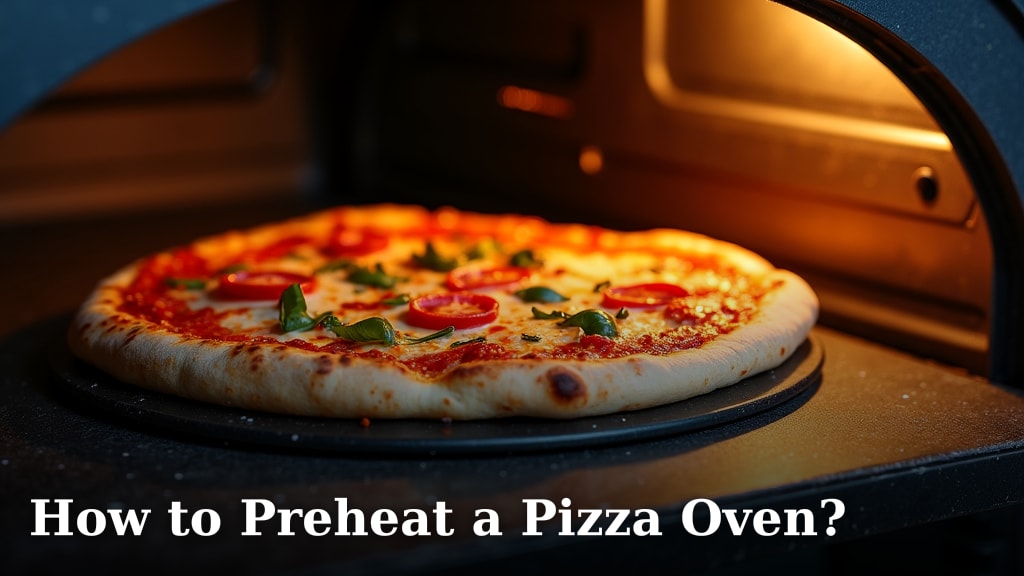
To preheat a pizza oven, always bring it to the correct temperature slowly, firing it for 30-60 minutes longer than you think you need. We found that this saturates the oven with heat, creating a perfectly crisp pizza crust.
Preheating correctly will make or break your pizza night. You want the entire oven, not just the air, to be super hot and hold that heat. This process ensures your pizza cooks evenly with that delicious, bubbly char you crave.
- Preheat your pizza oven thoroughly for the best results.
- Give your oven plenty of time to heat up all its parts.
- A well-preheated oven cooks pizza consistently and quickly.
- Don’t rush the preheating process; patience pays off.
Let’s walk through exactly how to preheat a pizza oven, step by step, so you can achieve pizza perfection every time.
Getting Your Pizza Oven Ready for Action
Preheating your pizza oven is more than just turning it on. It’s about bringing the entire cooking environment up to temperature. Think of it like preheating your home oven for a cake, but on a much grander scale and with higher stakes.
Understanding Why Correct Preheating Matters So Much
We often hear people say their pizza oven isn’t working right, but many times, it’s just not heated enough. You want a super-hot environment for a truly great pizza. This isn’t just about the air temperature, but the heat stored in the oven’s dome and hearth.
A properly preheated oven creates that perfect crisp crust and evenly cooked toppings. It cooks fast and effectively, often in just 60-90 seconds for Neapolitan-style pizzas.
The Science Behind a Great Pizza Cook
When you slide a pizza into a scorching hot oven, several magical things happen very quickly. The high temperature rapidly cooks the dough, causing it to puff up and achieve that wonderful, airy texture. This is called “oven spring.”
Simultaneously, the intense heat from the hearth (the cooking surface) creates a fantastic char on the bottom of your crust. At the same time, the heat radiating from the dome melts your cheese and cooks your toppings. It’s a delicate balance that only comes from deep, stored heat (NCBI).
Tools You’ll Need for Successful Preheating
You don’t need a lot of fancy equipment to get your pizza oven ready, but a few items are definitely helpful. Having these on hand will make the process smoother and safer.
- Ignition Source: Matches, a lighter, or a long-stem lighter are essential to get your fire started.
- Fuel: Hardwood is generally best for wood-fired ovens. Ensure it’s seasoned and dry. For gas ovens, you just need your propane tank or natural gas line.
- Infrared Thermometer: This is a game-changer! It allows you to measure the exact temperature of your cooking surface without touching it. We found this tool truly takes out the guesswork.
- Heat-Resistant Gloves: Safety first! Protect your hands when adding fuel or adjusting things inside the hot oven.
- Pizza Peel: While not for preheating, you’ll need this good friend ready to launch your pizza once the oven is hot.
Step-by-Step Guide to Firing Up Your Oven
Whether you have a wood-fired or gas pizza oven, the general principles of preheating remain the same: start low, go slow, and get hot. However, the exact steps vary slightly by fuel type.
Preheating a Wood-Fired Pizza Oven
This is where the artistry begins! Heating a wood-fired oven takes patience and a bit of practice. Don’t rush this part; it’s foundational to beautiful pizzas.
Building Your Fire
Start with a small fire in the center of your cooking surface. We found that starting small allows the oven to gradually absorb heat. Use some kindling and a few small pieces of seasoned hardwood. Avoid softwoods, as they burn too fast and create too much soot.
Once the fire is established and beginning to produce some nice flames (not just smoke), you can start adding slightly larger pieces of wood. You’re aiming for a gentle, steady build-up of heat, not a raging bonfire right away.
Sustaining the Heat
Initially, you’ll see a lot of black soot on the inside of the oven dome. As the oven heats up, this soot will burn off, and the dome will turn white. This is a very good sign! It tells you the oven is getting hot enough to cook efficiently.
Keep feeding the fire with small pieces of wood every 10-15 minutes or so. Your goal is to maintain a consistent flame, gently moving it around the oven as it warms up. We found that moving the fire helps distribute heat more evenly throughout the entire structure.
Preheating a Gas Pizza Oven
Gas ovens offer a bit more convenience and consistency when it comes to preheating. They generally heat up a little faster, but you still need to give them proper time to fully saturate.
Igniting the Burner
Most gas pizza ovens have a simple ignition switch or knob. Follow your manufacturer’s instructions carefully. Once ignited, you’ll typically set the burner to a high setting. You’ll hear the burner roar, and flames will appear.
Allow the oven to run on high for at least 15-20 minutes initially. This gets the main cooking chamber and stone warming up. It’s important to give it this initial burst of energy.
Monitoring and Sustaining
Unlike wood-fired ovens, you don’t need to add more fuel. Just keep the gas flowing! Your main task here is to monitor the temperature. The flames will be focused in one area, heating that part of the dome and hearth directly. Most gas ovens are designed to circulate this heat effectively.
You can sometimes adjust the flame higher or lower, depending on your oven model. The key is to keep it at a high, steady temperature until your stone reaches the target heat. We found that consistent gas flow leads to consistent heating.
Temperature Targets and How to Check Them
Knowing what temperature you’re aiming for and how to accurately measure it is perhaps the most important part of preheating. Don’t just guess!
Ideal Temperature for Pizza Perfection
For most home pizza ovens, especially when making Neapolitan-style pizzas, you’re aiming for a cooking surface temperature between 750°F and 950°F (400°C and 510°C). Yes, that’s incredibly hot!
If you’re making other styles, like New York-style or pan pizza, you might aim a little lower, say 600-700°F. But for quick-cooking, authentic pizza, the hotter, the better. Many experts say this high heat is what locks in moisture and creates that perfect blend of crispy and chewy (Cleveland Clinic).
Using Your Infrared Thermometer
This tool is your best friend. Point the laser directly at the center of your cooking surface (the stone or hearth). Take several readings across different spots. You’ll likely see some variation, which is normal.
Don’t measure the air temperature; that’s not as important for pizza. Your focus is the surface where the dough will sit. Repeat readings every 5-10 minutes during the later stages of preheating.
The Importance of “Heat Soaking”
This is the secret sauce for spectacular pizza and directly relates to the introduction’s advice. Once your infrared thermometer shows your cooking surface has reached the target temperature, don’t stop there.
Continue firing the oven for another 30-60 minutes. This allows the heat to deeply penetrate the entire oven structure — the dome, walls, and floor. This process is called “heat soaking” or “saturating the oven.” Without it, the stone might be hot, but the rest of the oven won’t be, leading to uneven cooking.
We found that skipping this step often results in a pizza with a perfectly browned top but an undercooked, pale bottom. Nobody wants that!
Signs Your Oven is Ready to Cook
Beyond the thermometer, your oven will give you visual and auditory clues that it’s good to go. Learn to read these signs, and you’ll become a seasoned pizza pro.
Visual Cues
- White Dome (Wood-Fired): As mentioned, the black soot on the dome should have burned off, leaving the roof of your oven clean and white. This indicates intense, even heat.
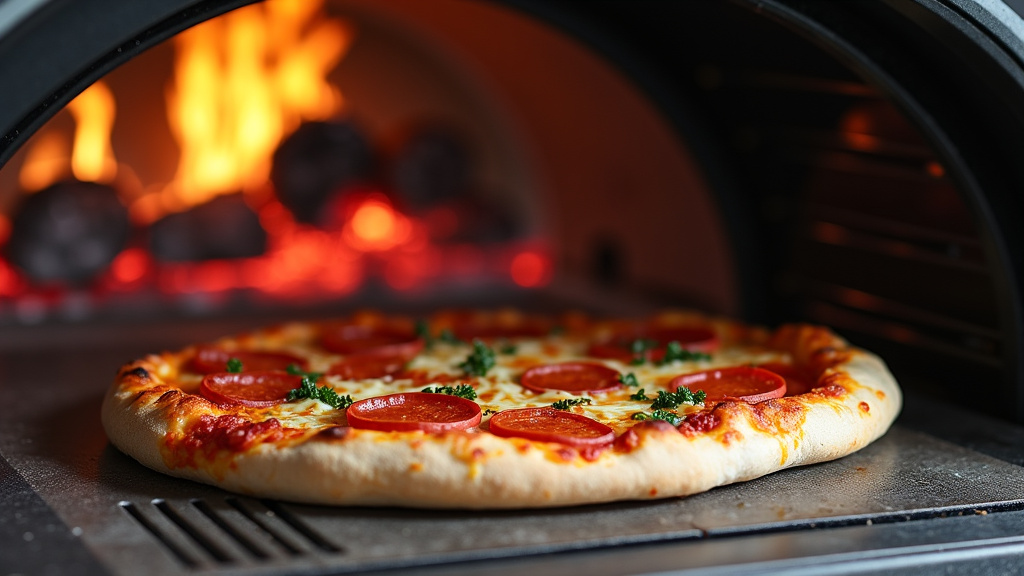
- Steady, Rolling Flames (Wood-Fired): You want steady, yellowish-orange flames that gently roll across the top of the oven. These flames radiate heat downward onto your pizza.
- No Smoke (Wood-Fired): A well-heated wood oven should produce very little smoke. If you see thick, white smoke, your fire needs more oxygen or more seasoned wood.
- Steady Gas Flames: For gas ovens, the flames should be consistent and strong, sometimes appearing almost invisible in the bright heat.
Checking for Evenness
Before you launch that first pizza, do a final sweep with your infrared thermometer. Check the center, front, back, and sides of your cooking surface. You want these readings to be as close as possible.
If one side is significantly cooler, gently nudge your fire (if wood-fired) towards that area for a few minutes. For gas ovens, you might need to wait a little longer for the heat to fully equalize. We found that a few extra minutes here can prevent burnt edges and raw centers later.
Pre-Launch Checklist
Before you slide that masterpiece into the oven, quickly run through this mental checklist. It ensures you’re fully prepared for the fast, exciting cooking process ahead.
- Oven temperature is steady and within target range (750-950°F).
- Dome is white (for wood-fired).
- Flames are consistent and rolling.
- You’ve heat-soaked the oven for at least 30 minutes after reaching temp.
- Pizza peel is floured and ready.
- All your toppings are prepped and within easy reach.
You’ll notice we didn’t mention an oven door. Many pizza ovens, especially high-temperature models, are designed to cook without a door. The intense heat keeps the cooking area hot. If your oven has a door, your manufacturer’s instructions will tell you if and when to use it.
Now, you’re officially ready! Send in that pizza and prepare for a truly delicious experience.
Conclusion
You’ve now got all the knowledge to achieve pizza perfection in your backyard. Remember, preheating a pizza oven is about patience and heat saturation, not just reaching a number on a thermometer. By taking the time to properly heat soak your oven, you’re building the foundation for incredibly crispy crusts and evenly cooked toppings.
We found that understanding these steps truly transforms your pizza-making experience. So, fire up your oven, follow these guidelines, and get ready to enjoy some truly amazing homemade pizza!
Frequently Asked Questions
How long does a pizza oven need to preheat?
A gas pizza oven typically needs 20-30 minutes to get the stone hot, plus another 15-30 minutes for heat soaking. Wood-fired ovens usually take longer, requiring 60-90 minutes of steady firing to fully saturate and reach target temperatures.
Can I use my oven too hot for pizza?
While very high temperatures are ideal for Neapolitan-style pizza, going too hot can cause problems. If the stone is excessively hot, the bottom of your crust might burn before the top cooks. Always aim for the recommended range (750-950°F) and use your infrared thermometer.
Why is my pizza oven smoking so much during preheating?
Excessive smoke, especially from a wood-fired oven, often means your wood isn’t seasoned enough (it’s too wet) or your fire isn’t getting enough oxygen. Ensure you’re using dry hardwood and that your fire has good airflow. A well-burning fire produces very little smoke.
My gas pizza oven isn’t getting hot enough. What should I check?
First, ensure your propane tank isn’t empty or low. Check that the gas line connections are secure and that the burner ports aren’t clogged. Sometimes, a strong wind can also impact the oven’s ability to retain heat, especially in open-front models.
Do I need to wait for the dome to turn white in a wood-fired oven?
Yes, waiting for the dome to clear (the soot burns off and the dome turns white) is an important sign for wood-fired ovens. It indicates that the oven has reached a sufficient temperature to cook efficiently and that the ceramic or brick material is radiating intense heat.