How to Light a Pellet Pizza Oven?
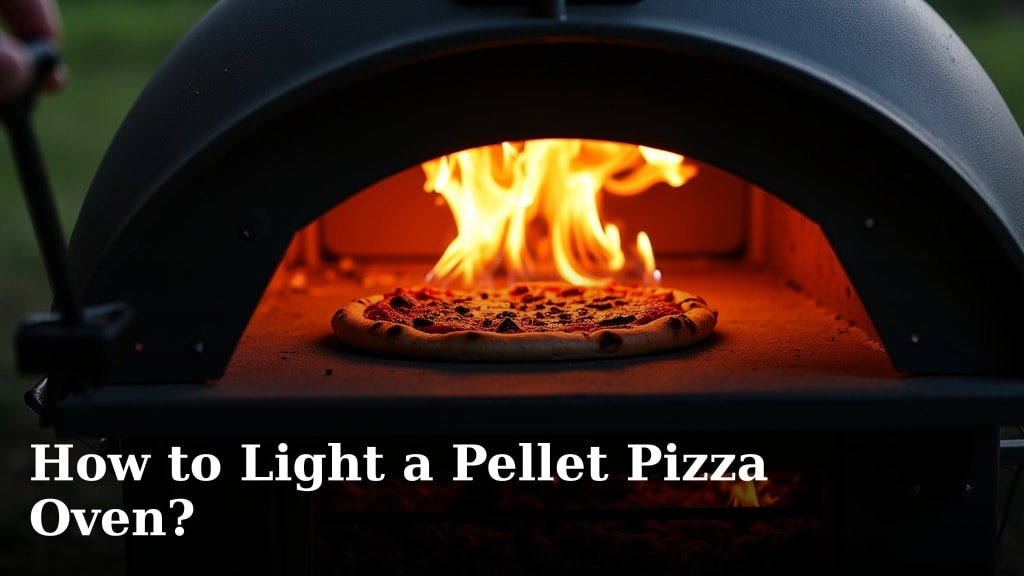
To light a pellet pizza oven, you should start by filling the hopper with food-grade hardwood pellets, then add a small amount of natural fire starters to the burn tray, and ignite them. This simple process gets your oven to temperature quickly, letting you enjoy delicious pizzas faster. We found that proper lighting ensures a consistent burn for that perfect crust.
Getting your pellet oven up and running is often one of the first steps to incredible homemade pizza. You want a hot, stable burn for an even bake. Understanding how pellet distribution and airflow work together is key to success. Don’t worry, it’s simpler than you might think!
TL;DR:
- Fill the hopper with pellets.
- Place fire starters in the burn tray.
- Light the fire starters.
- Allow the oven to preheat fully.
- Begin cooking your pizza.
So, ready to fire up your pizza night? Let’s walk through exactly how to light a pellet pizza oven, ensuring a perfect bake every time you cook.
Getting Your Pellet Oven Fired Up Correctly
Lighting your pellet pizza oven properly is the first step to a perfect pizza. You want a strong, steady flame from the start. This ensures your oven reaches and maintains the high temperatures needed for that classic crispy crust. Think of it like setting the stage for a great performance.
Gathering Your Essential Supplies
Before you even think about lighting, you need to have everything ready. This makes the process smooth and prevents any mid-lighting scrambles. Having your supplies at hand saves time and frustration.
Pellets: The Fuel for Your Flame
You’ll need high-quality food-grade hardwood pellets. These are specifically designed for cooking and safe consumption. Don’t use heating pellets; they contain binders and softwood that aren’t good for your food or your oven (USDA).
- Hardwood varieties: Oak, maple, hickory, cherry are popular choices.
- Flavor profiles: Different woods impart subtle flavors. Apple pairs well with chicken, while oak is great for pizza.
- Storage: Keep pellets dry. Moisture can expand them and clog your auger.
Fire Starters: Getting That Initial Spark
Natural fire starters are essential. We found that chemical-free options are always best for cooking. You want something that lights easily and burns cleanly without imparting any off-flavors.
- Wood wool or fire starter cubes: These are common and effective.
- Twisted paper towels with cooking oil: A DIY option if you’re in a pinch.
- Avoid lighter fluid: This can leave behind unpleasant odors and chemicals on your food.
Safety First: What You’ll Need
Safety is not just a suggestion; it’s a requirement. You’re working with fire, after all. Always have these items nearby for your peace of mind.
- Long oven mitts or gloves: To protect your hands from heat.
- Lighter or matches: A long-handled lighter is often safer.
- Small metal bucket or container: For safely disposing of used fire starters.
Step-by-Step Lighting Process
Now that you have your supplies, let’s get your oven roaring. We’ll walk through each step, making sure you understand the ‘why’ behind each action. It’s about building a good habit.
Loading the Hopper Correctly
The hopper is where your fuel goes. Proper loading ensures a steady pellet supply to the burn pot. You don’t want your flame to die out because of a pellet jam.
- Open the hopper lid: Most pellet ovens have a hinged lid on top or side.
- Fill with pellets: Pour in your chosen hardwood pellets. Fill it to about three-quarters full. This leaves room for expansion and prevents spills.
- Close the lid: This keeps moisture out and prevents pellets from popping out during operation.
Some ovens have an agitator or shaker in the hopper. Give it a gentle shake if you see a pellet bridge forming. This ensures pellets fall freely into the auger.
Positioning Your Fire Starter
This is where the magic begins. The fire starter creates the initial flame that ignites the pellets. You need it placed just right for maximum effect.
- Locate the burn pot/tray: This is usually a small metal cup or tray at the back of the oven.
- Place a small amount: Put one or two natural fire starter cubes in the center of the burn pot. If using wood wool, a small nest is fine. You don’t need a lot.
- Ensure pellet contact: Make sure the fire starter is touching a few pellets. This helps the pellets catch fire easily.
We found that small chunks work best. Too much fire starter can create excessive smoke rather than a clean flame.
Igniting the Fire Starter
Carefully light your fire starter. This is the moment your oven comes to life. Always be mindful of your hands and clothing.
- Use a long lighter: Hold the flame to the fire starter. It should catch quickly.
- Observe the flame: You’ll see a small flame begin to grow.
- Stay clear: Once lit, remove your hand and step back a little.
If it doesn’t light right away, try repositioning the starter or adding a tiny bit more. Sometimes a light breeze can make ignition difficult.
Allowing for Initial Burn and Preheat
Once lit, the pellets will start to burn, and the oven will begin heating up. This phase is critical for reaching optimal cooking temperature.
- Initial smoke: You might see some white smoke initially. This is normal as the fire starter burns off.
- Pellet ignition: The pellets will catch fire, and you’ll see a larger, more stable flame.
- Close the door (if applicable): Some ovens have a front door. Close it now to help the oven heat faster.
- Monitor the temperature: Most pellet ovens have a built-in thermometer. Watch it climb.
| Preheating Phase | What to Expect | Tips for Success |
|---|---|---|
| First 5-10 minutes | White smoke, small flame, temperature slowly rising. | Ensure good airflow; don’t rush it. |
| Next 10-15 minutes | Clearer flame, less smoke, temperature accelerating. | Check for consistent pellet flow. |
| Reaching target temp | Strong, steady flame, minimal smoke, oven reaching 700-900°F. | Rotate the oven every 5-7 minutes for even heating. |
Many experts say that preheating a pellet oven takes about 15-25 minutes to reach the ideal temperature for Neapolitan-style pizza (Purdue Extension). You’re aiming for that high, consistent heat.
Optimizing Your Fire for Perfect Pizza
A well-lit oven produces a beautiful, even crust. Understanding your flame is key to consistent results. What does a “good” flame look like?
Understanding Your Flame and Smoke
A clean fire is a hot fire. You want to see specific things from your flame. This tells you your oven is working efficiently.
- Ideal flame: Bright yellow, dancing, and vigorous. It should look like a small bonfire in the burn pot.
- Good smoke: Thin, wispy, and nearly invisible or light blue. This indicates complete combustion.
- Bad smoke: Thick, white, or dark gray smoke. This means incomplete combustion, leading to sooty pizza and off-flavors. Adjust airflow or add more pellets.
If you see too much smoke, check your pellet level and ensure good airflow. The oven needs oxygen to burn cleanly.
Maintaining Consistent Heat and Pellet Flow
Once your oven is hot, you want to keep it that way. This is where the automatic auger comes in handy. It feeds pellets at a programmed rate.
- Hopper monitoring: Keep an eye on your pellet hopper throughout your cook. Refill it before it gets too low.
- Auger check: Listen for the sound of the auger turning. It’s usually a low humming sound. This means pellets are moving.
- Flame observation: Periodically look into the oven to see your flame. It should stay strong and vibrant.
We research and found that consistent pellet supply is vital for an uninterrupted high heat. A dying flame means your pizza won’t bake evenly.
Troubleshooting Common Lighting Issues
Sometimes things don’t go perfectly, and that’s okay. Knowing how to handle minor setbacks will save your pizza night. Don’t throw in the towel just yet!
What If It Doesn’t Light?
It happens. If your fire starter fizzles out, or the pellets just won’t catch, here’s what to do. A little patience goes a long way.
- Check fire starter placement: Is it directly touching pellets?
- Add more fire starter: Sometimes one piece isn’t enough to get things going.
- Ensure pellets are dry: Wet pellets won’t ignite properly. Empty and refill the hopper if you suspect moisture.
- Clear the burn pot: Remove any ash or unburnt material from a previous attempt.
Heavy Smoke During Operation
If your oven is producing thick, dark smoke after the initial startup, something needs adjustment. This is a sign of poor combustion (EPA).
- Check pellet quality: Are you using high-quality, dry hardwood pellets?
- Ensure proper airflow: Make sure the chimney isn’t blocked and there’s enough oxygen getting to the burn pot.
- Clear any blockages: Sometimes excess ash or a pellet jam can cause poor combustion.
A little thick smoke at startup is normal, but persistent heavy smoke needs your attention. You don’t want that flavor on your pizza.
Inconsistent Flame or Losing Heat
Your flame might look weak, or the oven temperature just won’t stay high. This can be frustrating when you’re trying to cook.
- Refill pellets: The simplest solution is often that the hopper is running low.
- Check auger for jams: Sometimes a pellet gets stuck, preventing flow.
- Clean ash tray: A full ash tray can restrict airflow to the burn pot, reducing flame intensity.
If the auger seems stuck, turn the oven off and carefully clear any obstructions according to your oven’s manual. Safety first!
Quick Lighting Checklist for Success
Here’s a simple checklist to run through every time you light your oven. It helps create a routine and ensures you don’t miss a step. You’ve got this!
- Hopper filled with dry, food-grade pellets?
- Natural fire starter placed in the burn pot?
- Fire starter ignited successfully?
- Oven door closed (if applicable) for preheating?
- Temperature gauge climbing steadily?
- Flame looks strong and clean after startup?
Conclusion
You now have the tools and knowledge to confidently light your pellet pizza oven every time. Remember, the key is using quality pellets and fire starters, coupled with a steady lighting process. This ensures your oven reaches optimal temperatures for that perfect, crispy crust. Don’t be afraid to experiment with different pellet flavors to find your favorite. With a little practice, you’ll be baking incredible pizzas in minutes. So go ahead, fire it up and enjoy your next pizza night!
Frequently Asked Questions
How often should I clean the burn pot in my pellet pizza oven?
You should clean the burn pot and ash tray after every 2-3 uses, or certainly if you notice a drop in performance. Excessive ash can restrict airflow and prevent proper burning. A quick brush-out keeps things running smoothly.
Can I mix different types of hardwood pellets in my pizza oven?
Yes, you can absolutely mix different hardwood pellets to create unique flavor profiles. For example, combining oak with a fruitwood like apple or cherry can add subtle sweetness. Just ensure all pellets are food-grade and dry.
What if my pizza oven isn’t getting hot enough after lighting?
First, check your pellet levels; a low hopper is a common culprit. Then, ensure the burn pot is clear of ash and that you have good airflow. Sometimes, a strong wind can also impact temperature, so consider a windbreak if cooking outdoors.
Is it okay to use my pellet pizza oven in the rain or damp conditions?
It’s generally not recommended to use your pellet oven in heavy rain, as moisture can damage the pellets and the oven’s electronics. A light drizzle might be okay if the oven is shielded, but always prioritize keeping your pellets dry for efficient burning.
How long do food-grade hardwood pellets last in storage?
When stored properly in a cool, dry, and airtight container, food-grade hardwood pellets can last for several months or even up to a year. Moisture is their biggest enemy, causing them to absorb water and break down, so keep them sealed when not in use.