
How to Make Pizza Dough for a Pizza Oven?

To make great pizza dough for a pizza oven, you need a simple recipe with high-gluten flour, water, yeast, and salt, mixed into a smooth ball and left to rise for several hours. We found that this basic method creates the perfect crispy yet chewy crust when baked at high heat.
Unlike dough for a regular oven, pizza oven dough benefits from a longer, slower rise. This develops better flavor and texture that can withstand intense temperatures. Many experts say using strong bread flour is key to getting that ideal, professional-style crust right in your backyard.
- Start with a simple mix of bread flour, warm water, yeast, and salt.
- Mix until smooth, then knead the dough for about 10 minutes.
- Let it rise slowly in the fridge for 24 to 72 hours for the best flavor.
- Before baking, shape your dough gently without overworking it.
Below, we’ll walk you through each step in detail, from mixing your ingredients to the perfect bake. Let’s get started on making pizza night even better!
Mixing Dough for Your Pizza Oven
The first step is gathering the right ingredients. For a pizza oven, we found that using high-protein bread flour makes the biggest difference. It creates a stronger gluten network, which gives you that perfect chewy-yet-crispy texture you’re after. Let’s break down the core components.
You only need four ingredients: flour, water, yeast, and salt. The magic lies in their ratios. Too much water and the dough is a sticky mess. Too little, and it won’t rise properly.
Choosing Your Ingredients Wisely
We found that each ingredient plays a specific role. Think of it as your dough’s support team. Every player has a job.
| Ingredient | Role in Dough | What to Look For |
|---|---|---|
| Bread Flour | Provides structure and chew | At least 12% protein content. “00” flour is a great Italian alternative for high heat. |
| Warm Water | Activates yeast and hydrates flour | Between 100°F and 110°F. Too hot kills the yeast. |
| Yeast | Makes dough rise and adds flavor | Active dry or instant yeast works perfectly. |
| Salt | Controls yeast and strengthens gluten | Fine sea salt or kosher salt. Avoid coarse grinds. |
Water temperature is critical. It should feel comfortably warm to your wrist, like a baby’s bath. If it’s too hot, you’ll cook your yeast. Too cold, and they’ll just sleep on the job.
The Mixing and Kneading Process
Start by combining your warm water, yeast, and a pinch of sugar in a large bowl. Let it sit for about 5 minutes until it gets foamy. This proves your yeast is alive and ready to work.
Add your flour and salt. Mix with a wooden spoon or your hands until a shaggy mass forms. Now, it’s time to get hands-on. Turn the dough onto a floured surface.
Kneading develops gluten. Push the dough away from you with the heel of your hand, fold it over, give it a quarter turn, and repeat. You’ll knead for about 10 minutes. The dough should become smooth, elastic, and slightly tacky—not sticky. If it sticks to your hands, add a little more flour, one tablespoon at a time.
The Secret to Great Flavor: Cold Fermentation
This is where pizza oven dough truly shines. We found that a long, slow rise in the refrigerator—a process called cold fermentation—develops complex, bakery-like flavor. It’s like letting a fine sauce simmer for hours instead of minutes.
Many experts say this step is non-negotiable for a truly professional crust (Bon Appétit). The yeast works slowly in the cold, producing better gas and flavor compounds.
How to Proof Your Dough in the Fridge
After kneading, shape your dough into a tight ball. Place it in a lightly oiled bowl, turning it once to coat the surface with oil. This prevents a dry skin from forming.
Cover the bowl tightly with plastic wrap or a damp kitchen towel. Place it in the coldest part of your refrigerator, like the back of the bottom shelf.
Timing Your Rise
For the best results, let it rise for at least 24 hours. You can leave it for up to 72 hours. The longer it rests, the more flavorful the dough becomes. We found 48 hours to be a sweet spot for deep flavor and easy handling.
The dough will double in size in the fridge. Don’t worry if it seems slow at first; it’s working its magic at its own pace.
Shaping Your Dough for the Oven
Pull your dough from the fridge about 1-2 hours before you plan to bake. This lets it warm up slightly, making it easier to stretch without shrinking back. Cold dough is very elastic and tough to work with.
Gently punch the dough down to release large air pockets. Divide it into equal portions, depending on the size of your pizzas. For a standard pizza oven, 250-300 grams per ball is a good starting point.
The Art of the Gentle Stretch
Work on a floured surface. Use your fingertips, not a rolling pin. A rolling pin crushes all those lovely air bubbles you worked so hard to create. Press down in the center, leaving a thicker 1/2-inch border for the crust.
Let the dough rest for a minute if it springs back. Then, pick it up and drape it over your knuckles. Gently stretch it, letting gravity help you. Rotate it like you’re turning a steering wheel until it’s about 10-12 inches wide.
Common Shaping Mistakes to Avoid
- Using too much flour. It can make the crust tough and burn in a hot oven.
- Pulling from the center. This creates a thin, weak spot that can tear.
- Working on a cold surface. Lightly oil your counter or use semolina flour for best results.
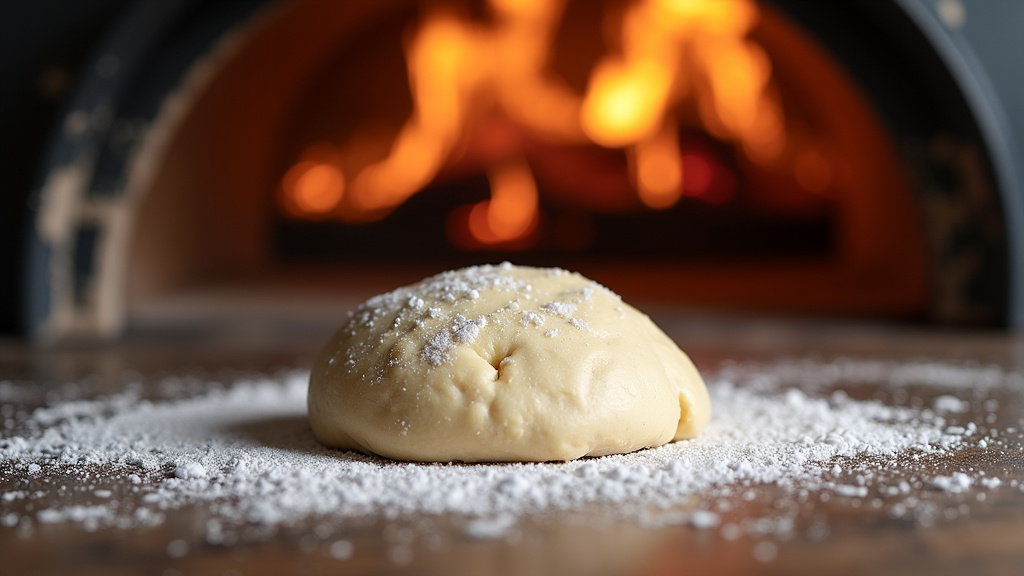
The Quick Checklist Before Baking
Before your dough hits the intense heat of your pizza oven, run through this final mental list. It ensures everything goes smoothly.
- Is your oven properly preheated? Pizza ovens need to reach 700°F to 900°F.
- Is your dough shaped evenly? No super-thin spots or thick lumps.
- Is your peel ready? Use a wooden or metal peel dusted with flour or semolina.
- Have you topped it lightly? Heavy toppings release moisture and make the dough soggy.
- Do you have a plan for turning? You’ll need to rotate the pizza for an even bake.
- Is your timer set? Pizzas cook in 2-5 minutes. Watch it like a hawk!
Getting your dough right is 90% of the pizza battle. You’ve done the hard work. Now it’s time for the fun, fiery payoff.
Conclusion
You’ve now got the complete roadmap for making incredible pizza dough. The journey from simple flour and water to a flavorful, professional-style base is simpler than you think. Remember the core principles: use strong bread flour for structure, give your dough a long, cold rise in the fridge for deep flavor, and handle it gently when shaping. Your pizza oven will do the rest, creating that perfect crispy, charred crust.
Don’t wait for the weekend. **Pull out your ingredients and start a dough ball tonight.** Let it develop flavor in your fridge, and you’ll be ready for an epic pizza night in just a couple of days.
Frequently Asked Questions
Can I use all-purpose flour instead of bread flour?
You can, but the result will be different. All-purpose flour has less protein, so your crust will be softer and less chewy. For a pizza oven’s high heat, we highly recommend bread flour or Italian “00” flour for the best texture and rise.
How long can I keep the dough in the fridge?
For optimal flavor and handling, 24 to 72 hours is ideal. We found 48 hours to be a sweet spot. After 72 hours, the dough can become overly acidic and difficult to shape. Always look for a dough that has roughly doubled in size.
Why does my dough always tear when I stretch it?
Tearing usually means the gluten needs more time to relax. Make sure you let your cold dough warm up at room temperature for at least an hour before shaping. If it keeps springing back, let it rest for another 15 minutes. Patience is key!
Can I freeze pizza dough for later use?
Absolutely. After the cold fermentation, you can divide the dough into balls, lightly oil them, and wrap tightly in plastic wrap and foil. Freeze for up to 3 months. Thaw overnight in the fridge before using, and let it come to room temperature before shaping.
How do I know when my pizza oven is hot enough?
Most pizza ovens should be preheated to 700°F to 900°F. A common test is to toss a small piece of flour onto the oven floor; it should brown in a few seconds. If it blackens instantly, it’s too hot; if it sits there, give it more time.
