
How to Proof Pizza Dough Overnight?
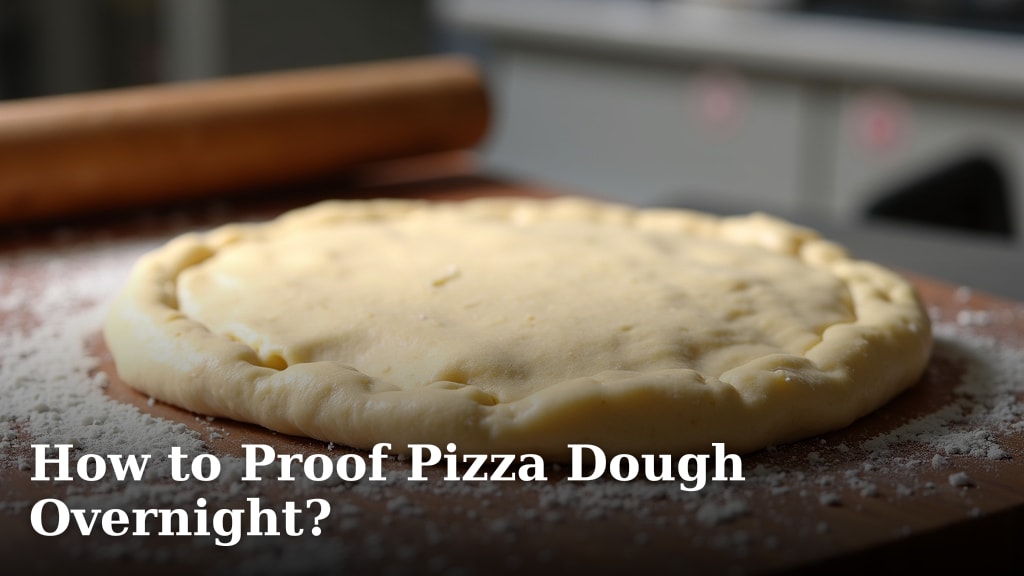
To proof pizza dough overnight, place your sealed dough in the refrigerator for a slow, cold rise lasting 8 to 24 hours. This cold fermentation develops a deeper flavor and a better texture than a quick, room-temperature proof. Many pizza experts recommend this method for the best results.
A slow overnight rise allows the yeast to work gradually, creating complex flavors you can’t get otherwise. It also makes the dough much easier to handle and stretch. Plus, it fits perfectly into a busy schedule, so you can have fresh pizza ready for dinner the next day.
- You mix and knead your dough as usual, then place it in a covered, oiled bowl.
- Refrigerate the bowl for a minimum of 8 hours, up to a full day.
- Take the dough out 1 to 2 hours before baking to let it warm up.
- The dough will be puffy, airy, and ready to shape into your perfect pizza.
Below, we walk through each step of this simple, game-changing process. Let’s get your dough started for that perfect homemade pizza.
The Art of Overnight Proofing for Pizza Dough
You’ve decided to slow things down for a better pizza. Overnight proofing, or cold fermentation, is the simple act of letting your kneaded dough rise slowly in the fridge. This process, often called a “cold ferment,” is a secret used by many pizzerias. It transforms basic ingredients into a flavorful, easy-to-handle dough.
Why a Cold, Slow Rise Creates Superior Flavor
When yeast eats sugars in the flour, it produces carbon dioxide (which makes dough rise) and alcohol. At room temperature, this happens fast, but the flavor development is limited. A cold environment in your refrigerator slows the yeast’s activity way down.
This slow, chilly process allows for more complex fermentation. The yeast and natural bacteria in the flour have more time to create flavorful compounds. The result is a dough with a richer, slightly tangy taste and a superior aroma that a quick, one-hour rise simply cannot achieve. Research into sourdough and long-fermented breads consistently shows that time and temperature are key to flavor development.
Texture Benefits of Overnight Proofing
Beyond flavor, the structure of the dough improves. The gluten network has time to fully hydrate and relax. This means when you shape your pizza later, the dough will be more pliable and elastic. It resists shrinking back and stretches into a thin crust without tearing. The final baked crust will have a more open, airy crumb with those coveted bubbles.
Step-by-Step Guide: From Mixing to Morning
You can adapt almost any standard pizza dough recipe for an overnight proof. The key is a minor adjustment to your yeast. You’ll use less of it to account for the longer rise time. Here’s a reliable method.
Step 1: Mix and Knead as Usual
Combine your flour, water, salt, and yeast. Use about half the yeast your original recipe calls for. For a typical dough ball, many experts recommend using between ¼ to ½ teaspoon of active dry yeast. Mix until a shaggy ball forms, then knead for 5-10 minutes until it’s smooth and just slightly tacky.
Step 2: The Initial Rise and Shaping
Place your kneaded dough in a large, lightly oiled bowl. Turn it once to coat the surface with oil. This prevents a dry skin from forming. Cover it tightly with plastic wrap or a lid. Let it sit at room temperature for 30 to 60 minutes. This quick head start gets the fermentation going before the cold slows it down.
Step 3: Into the Refrigerator for the Long Haul
Move the covered bowl directly into your refrigerator. Let it proof slowly for at least 8 hours. You can leave it for 12, 18, or even up to 24 hours for deeper flavor. We found that a 12-18 hour window often hits the sweet spot for home bakers. The dough will gradually rise and may double in size.
What You’ll Need: Equipment for Success
You don’t need fancy gear. The goal is a controlled, draft-free cold environment and a dough container that allows for some expansion without drying out.
| Equipment | Purpose & Recommendation |
|---|---|
| Airtight Container | Prevents the dough from absorbing fridge odors and stops a dry crust from forming. A large mixing bowl with tight plastic wrap works great. For individual dough balls, lightly oiled deli containers or lidded glass bowls are perfect. |
| Light Oil | A thin coat of olive or vegetable oil on the dough and bowl prevents sticking. You don’t need much—just a light sheen. |
| Timer | Helps you track the proof time. An overnight proof doesn’t need babysitting, but knowing when you started helps plan your next day. |
The Critical Final Steps: Warming and Shaping
The morning you plan to bake, you cannot use the dough straight from the fridge. It needs to come to temperature. This step is non-negotiable for proper texture and oven spring.
Timing Your Final Rise
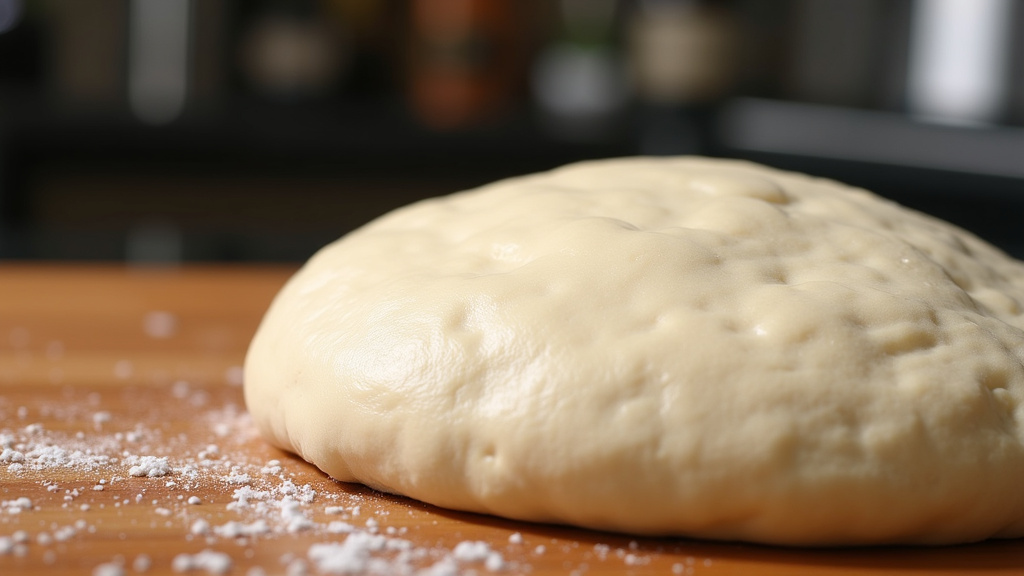
Pull the covered bowl of dough out of the refrigerator. Let it sit on your counter for 1 to 2 hours. The exact time depends on your kitchen’s warmth. The dough should feel cool but not cold to the touch. It will become puffier and more lively. You’ll know it’s ready when it holds an indentation when gently pressed.
Shaping the Proofed Dough
Gently turn the dough out onto a lightly floured surface. Handle it with care to preserve the air bubbles you worked so hard to create. Divide it if needed. Use your hands or a rolling pin to stretch it into your desired pizza shape. Let the shaped crust rest for 10-15 minutes before adding toppings. This allows the gluten to relax again.
Troubleshooting Common Overnight Dough Issues
Sometimes things don’t go exactly as planned. Here are solutions to common concerns.
My Dough Stopped Rising or Looks Flat
This often means the yeast was too weak or the fridge is very cold. As long as it has some volume and isn’t collapsed, it should still bake into a good crust. The flavor will still be there. The problem is usually not salvageable if the dough smells like alcohol or acetone, which indicates over-fermentation. This happens after 36+ hours in the fridge.
My Dough is Way Too Puffy and Sticking to the Lid
You used a bit too much yeast or the fridge is too warm. Don’t worry. Gently punch it down, reshape it into a ball, and place it back in the oiled, covered bowl. Let it rise for 30-45 minutes at room temp before shaping. It may have extra-large bubbles, which can be a nice, rustic touch.
Quick vs. Overnight Proof: A Flavor and Texture Comparison
It helps to see the difference side by side. The overnight method requires patience but delivers significant rewards.
| Factor | Quick Proof (1-2 Hours at Room Temp) | Overnight Cold Proof (8-24 Hours in Fridge) |
|---|---|---|
| Flavor | Mild, yeast-forward taste | Complex, deeper, slightly tangy flavor |
| Texture | Can be dense or chewy | Light, airy, crispier crust with open crumb |
| Ease of Handling | Can be elastic and snap back | Relaxed, easy to stretch thin |
| Scheduling | Requires same-day baking | Flexible; bake whenever you want the next day |
Overnight Pizza Dough Success Checklist
Before you put that bowl in the fridge, run through this quick list.
- Yeast Amount: Used half the normal amount for a slow rise.
- Initial Room-Temp Rest: Gave the dough 30-60 minutes at room temperature first.
- Container & Cover: Placed dough in a lightly oiled bowl and sealed it tightly.
- Timeline: Scheduled at least 8 hours in the fridge, up to 24.
- Final Warm-Up: Planned to take it out 1-2 hours before baking.
- Gentle Handling: Remembered to handle the proofed dough softly to keep the air bubbles.
Adapting Recipes for the Fridge
Most standard pizza dough recipes work well. The only major change is the yeast quantity and the process timing. A good rule of thumb is to use 1 gram of active dry yeast per 500 grams of flour. This tiny amount is enough for a long, slow ferment. Salt and oil amounts remain the same. You can add a touch of sugar or honey to give the yeast a little extra food for the long haul.
Is Overnight Proofing Right for Every Pizza?
It’s excellent for Neapolitan-style, New York, and most thin-crust pizzas. The deep flavor and airy structure shine. For some thick, bread-like pan pizzas or focaccia, you might still prefer a longer room-temperature rise for extra lift. But for the classic pizza night at home, the overnight method is a winner. It fits a busy life, giving you fresh, restaurant-quality pizza with minimal day-of effort. Just plan ahead, and you’ll be rewarded with a dough that’s full of character.
Conclusion
Overnight proofing is a simple, reliable way to craft pizza dough with superior flavor and texture. By letting your dough rise slowly in the fridge, you allow the yeast to create complex tastes and a light, airy crust that’s easy to shape. This method saves you time and fits a busy life, giving you fresh pizza with minimal effort the next day. You’ve learned the key steps: mix with less yeast, give it a quick room-temperature start, and always warm it before shaping.
Ready to upgrade your pizza night? Mix your dough tonight, pop it in the fridge, and let time do the work for a better slice tomorrow!
Frequently Asked Questions
How long can you refrigerate pizza dough?
You can safely refrigerate pizza dough for up to 24 hours for the best flavor development. Beyond that, it may over-ferment and develop an unpleasant sour taste. Aim for an 8 to 18-hour window for optimal results.
Can I freeze pizza dough after overnight proofing?
Yes, you can freeze the dough after it has completed its overnight rise in the fridge. Let it warm slightly, then portion and wrap it tightly in plastic or freezer bags. Thaw it overnight in the refrigerator before using for a convenient future pizza.
What if my dough doesn’t rise much in the fridge?
A lack of significant rise doesn’t mean failure. The dough can still bake into a great crust with excellent flavor. Ensure your yeast is fresh and your refrigerator isn’t set too cold, as extreme chill can slow activity too much.
Do I need to adjust baking time for cold-proofed dough?
The baking time itself doesn’t usually change, but the crucial step is letting the dough warm up first. Take it out of the fridge for 1 to 2 hours until it’s cool but not cold. Once at room temperature, bake it according to your recipe’s instructions.
Can I use instant yeast for overnight proofing?
Absolutely, instant yeast is a great choice for this method. Use about half the amount you would for a quick, one-hour rise. It may require a slightly shorter warm-up time before baking compared to active dry yeast.
