
What Is the Safest Way to Light a Wood Fired Pizza Oven?
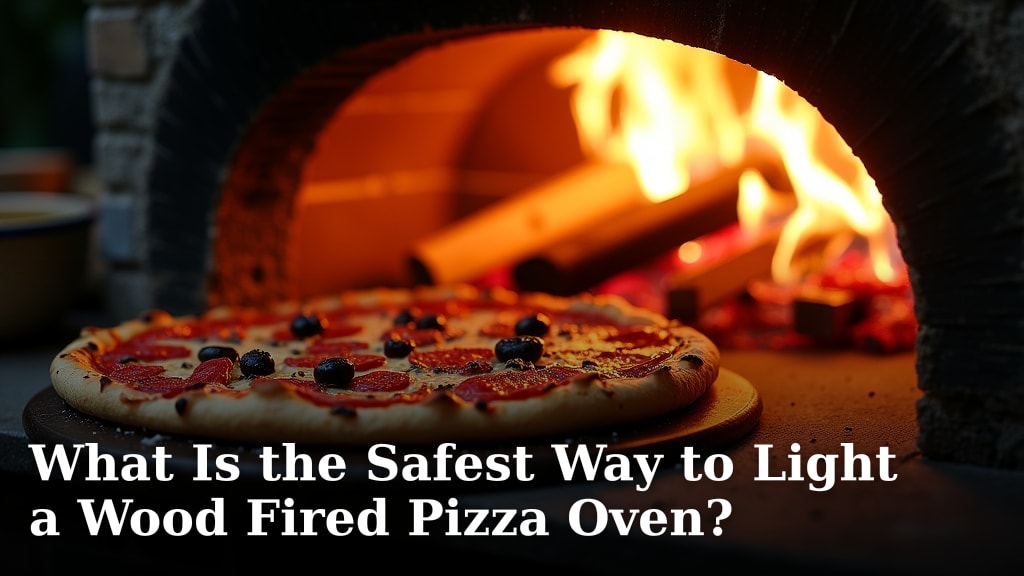
The safest way to light a wood fired pizza oven involves using natural fire starters and gradually building a small fire, avoiding any chemical accelerants. We found that slow and steady ignition prevents flare-ups and provides better control.
Lighting your pizza oven correctly ensures both safety and optimal cooking performance. You want a hot, stable fire that cooks your pizza perfectly every time. This approach also protects your oven from rapid temperature changes, which can cause damage.
- Prioritize natural fire starters.
- Build your fire incrementally.
- Avoid all chemical accelerants.
- Control the heat carefully.
- Protect your oven and yourself.
Let’s walk through exactly how to light your wood fired pizza oven safely and efficiently, step by step.
Getting Started: Your First Steps to a Safe Oven Fire
Lighting a wood fired pizza oven safely begins before you even strike a match. You need the right tools and a clear plan. We found that proper preparation is half the battle for a stress-free pizza night If you’re considering the investment, our guide on what is a wood-fired pizza oven for your home can help you decide..
Gathering Your Essential Tools and Materials
Think of this as your fire-building toolkit. You’ll need specific items to create a controlled and efficient burn. Having everything ready prevents you from scrambling when the fire is already going (National Fire Protection Association).
- Dry Hardwood: Use seasoned, split hardwood like oak, maple, or fruitwoods. Avoid softwoods like pine, which burn too fast and create more creosote.
- Kindling: Small, dry pieces of wood or natural firelighters are perfect.
- Natural Fire Starters: Look for options like natural wood wool, fire starter cubes made from wood fibers and wax, or even crumpled newspaper (sparingly).
- Long Lighter or Matches: To keep your hands safe from the flame.
- Metal Ash Shovel and Bucket: For managing ashes and a safe cleanup.
- Heat-Resistant Gloves: Protect your hands from radiant heat.
- Infrared Thermometer: To accurately measure your oven’s temperature.
- A Fire Extinguisher or Water Source: Always have one nearby, just in case.
Choosing the Right Wood for Your Pizza Oven
The type of wood you use makes a huge difference, not just for safety but for flavor too. We found that hardwoods are superior for pizza ovens. They burn hotter, longer, and produce less smoke.
Understanding Wood Moisture Content
Moisture content is key. Wood should be “seasoned,” meaning it has been dried for 6-12 months. Ideal moisture content is below 20%. Wet wood creates excessive smoke, lowers oven temperature, and can lead to creosote buildup in your flue (Environmental Protection Agency).
How can you tell if wood is seasoned? It will look cracked at the ends, feel lighter, and make a hollow sound when you tap two pieces together. It also won’t hiss when burning.
Why Avoid Softwoods and Treated Wood?
Softwoods, like pine or fir, burn quickly and create more sparks and creosote. Creosote is a highly flammable substance that can build up in your chimney, posing a fire hazard. Treated wood, like lumber from a construction site, contains chemicals that are toxic when burned. Never use treated wood in your pizza oven; the fumes are dangerous and can contaminate your food.
The Step-by-Step Process for Lighting Your Oven Safely
Now that you’re prepared, let’s light that fire! We recommend a gradual approach. This method ensures your oven heats evenly and prevents sudden temperature shocks.
Phase 1: The Initial Ignition and Small Fire
Start small, like building a campfire. You want a gentle flame to begin warming the oven’s dome.
- Clear the Oven Floor: Make sure there’s no debris or old ash where you plan to build your fire.
- Create a Small Kindling Pile: Place a small amount of crumpled natural fire starter or very small pieces of kindling in the center or slightly to the side of the oven.
- Add Small Wood Pieces: Arrange 2-3 small pieces of dry hardwood (about 1-2 inches thick) around your kindling, in a tepee or log cabin style. Leave gaps for airflow.
- Ignite Safely: Use your long lighter or matches to light the natural fire starter. Keep your face and hands away from the opening.
- Allow to Catch: Let this small fire establish itself for 5-10 minutes. Don’t add more wood yet. You’re just starting to warm the oven’s interior.
Phase 2: Gradually Building the Fire and Heat
Once your kindling fire is burning well, it’s time to build it up. This is where you increase the heat slowly and steadily.
Adding Larger Wood Pieces
As the initial small pieces turn to glowing embers, add 2-3 slightly larger pieces of hardwood (2-3 inches thick). Place them gently on the existing embers, maintaining good airflow around them. We found that overcrowding the fire leads to smoke, not heat.
Monitoring Flame and Smoke
You want a clean-burning flame. A thin wisp of white smoke is normal at the very beginning. However, thick, dark, or acrid smoke indicates insufficient airflow or wet wood. Adjust your wood placement to allow more air, or wait for the wood to burn down more before adding new pieces.
Phase 3: Achieving Optimal Pizza Oven Temperature
This is where patience pays off. Reaching the right temperature takes time and careful management. Your goal is a blazing hot oven with a clean fire.
Maintaining the Fire and Moving Embers
Continue adding 1-2 pieces of wood every 15-20 minutes as the previous pieces burn down. Once the oven starts to get hot (after 30-45 minutes), you can begin to move the fire. Use your ash shovel or a heat-resistant rake to push the burning embers and logs to one side of the oven. This creates a hot spot for cooking and leaves the cooking floor clear.
Using an Infrared Thermometer to Check Temperature
This tool is your best friend. Point the infrared thermometer at the oven dome and the cooking floor. For most pizzas, you’re looking for a dome temperature of 800-900°F (425-480°C) and a floor temperature of 700-750°F (370-400°C). Don’t rush it; getting to these temperatures can take 1 to 2 hours, depending on your oven (Ooni).
You know your oven is properly heated when the black soot on the inside of the dome starts to burn off, leaving the brick or ceramic clean and white. This is sometimes called “cleansing” the oven.
Important Safety Considerations During Lighting and Cooking
Safety is paramount. Accidents can happen quickly around high heat. Always be vigilant.
Never Use Accelerants
This is a non-negotiable rule. Never, ever use lighter fluid, gasoline, or other chemical accelerants to start or restart your fire. These substances are extremely flammable and can cause dangerous flare-ups, explosions, and contaminate your food. They can also damage your oven materials.
Maintaining a Clear Area Around Your Oven
Keep the area around your oven free of anything flammable. This includes dry leaves, paper, plastics, and even overhanging tree branches. A 3-foot clearance zone is a good general rule.
Protecting Yourself from Burns
Heat-resistant gloves are essential. Long-sleeved shirts and sturdy shoes are also recommended. Remember, the oven’s exterior can get very hot, not just the interior. Be mindful of children and pets around a hot oven.
Ash Management and Safe Disposal
Even after the fire dies down, embers can remain hot for days. Use a metal ash shovel to scoop ashes into a metal bucket with a tight-fitting lid. Place the bucket on a non-combustible surface, far away from any structures or flammable materials, for at least 48-72 hours before disposing of the ashes. Do not dispose of ashes in plastic bins or directly into the trash.
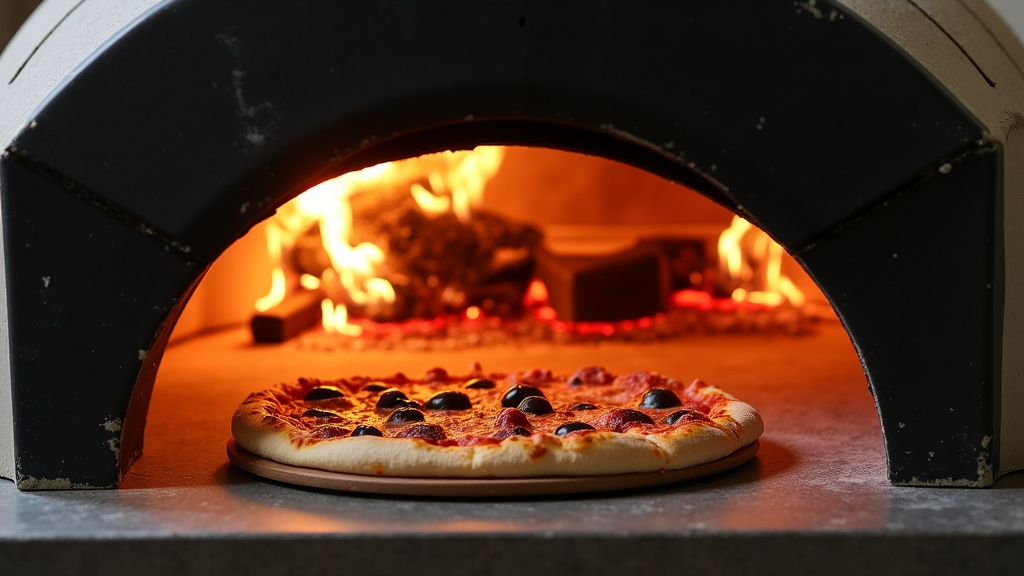
Troubleshooting Common Lighting Challenges
Sometimes, things don’t go exactly as planned. Here are quick fixes for typical issues.
Excessive Smoke Production
If your oven is smoking heavily, it usually means your wood is too wet, or your fire isn’t getting enough airflow. Try adding smaller, drier pieces of wood. You can also carefully rearrange the logs to create more space for air to circulate.
Fire Not Catching or Dying Out
This often points back to the quality of your kindling or the size of your wood pieces. Ensure your kindling is genuinely dry and easily ignitable. If the fire dies out, clear out any half-burnt wood, add fresh kindling, and start with smaller pieces again. Patience is key when restarting.
Your Safe Lighting Checklist
Before you light up, run through this quick list. It helps ensure you haven’t missed a crucial step for safety and success.
- All necessary tools and materials are ready.
- You’re using only dry, seasoned hardwood.
- No chemical accelerants are anywhere near the oven.
- The area around the oven is clear of flammable items.
- You have a fire extinguisher or water source readily available.
- Your hands and body are protected with heat-resistant gear.
Conclusion
By following these steps, you’ve mastered the safest way to light your wood fired pizza oven. You’ve learned how to prepare properly, choose the best wood, and build your fire gradually. Remembering to avoid chemical accelerants and always prioritize safety will ensure a great experience. Now you’re ready to enjoy delicious, perfectly cooked pizzas while keeping yourself and your oven protected for many meals to come.
Frequently Asked Questions
How long does it take for a pizza oven to heat up safely?
Safely heating a wood fired pizza oven typically takes 1 to 2 hours. This gradual process allows the oven materials to heat evenly, preventing damage and ensuring a stable cooking temperature. Rushing it can shock the oven and lead to an uneven bake.
Can I use charcoal to light my wood fired pizza oven?
No, it’s best to avoid using charcoal in a traditional wood fired pizza oven. Charcoal burns differently than wood and can produce a distinct flavor that might not be desirable for pizza. Stick to dry, seasoned hardwood for the best results and authentic taste.
What if my oven is smoking too much after lighting?
Excessive smoke usually indicates your wood is too wet or lacks sufficient airflow. Ensure you’re using dry, seasoned hardwood. Try rearranging your logs to create more space between them for air to circulate, which helps promote a cleaner burn.
How do I know when my pizza oven is hot enough for cooking?
You’ll know your oven is ready when an infrared thermometer shows the dome and floor at target temperatures (e.g., 800-900°F dome, 700-750°F floor). Another sign is when the black soot on the inside of the oven dome burns off, leaving the surface clean and white.
Is it safe to leave the fire unattended while the oven heats up?
While the fire is establishing itself and heating the oven, it’s never safe to leave it completely unattended. Always keep an eye on the flames and smoke production. Active supervision ensures you can manage the fire safely and prevent any issues.
